So, One thing to know about me, is that I love trying new things… & I am not afraid to fail. Sure, it can be completely frustrating to spend hours on a project, only to realize it was a total fail… but you never know until you try, right? Right.
Which is why I decided to be adventurous with my Valentine wreath, & instead of making something predictable (you will learn that my love of all things vintage makes me lean towards burlap, lace, old keys, etc far too often), I decided to try a cupcake liner wreath.
Oh, but not just any cupcake liner wreath. A pink & zebra cupcake liner Valentine wreath, to be exact. Go big or go home, I decided.
I first saw cupcake liners used on wreaths via Pinterest, & I really liked the concept. Since I was in Hobby Lobby shopping with my lovely friend (and fellow blogger) Jess, I decided to go with something less traditional. You know those friends who always encourage you to try new things, be more creative, & step out of the box once in awhile? Yep, that’s Jess. Below are the steps on how to make your own cupcake wreath, & a list of items you will need:
Hot glue gun
Styrofoam wreath
2 packs of Cupcake liners (Hobby Lobby has a huge variety!)
Ribbon of your choice (As you see later in this post, I misjudged the exact amount of ribbon, & to be perfectly honest, have NO recollection of how much I even purchased.. blogger fail, I know.)
I chose to add a little more decoration to my wreath, however I love the way they look with just the liners, so just be creative & see what works!
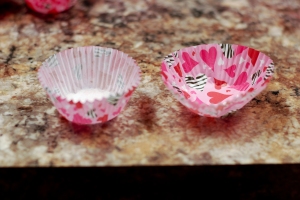
First, I was checking out my cupcake liners, & trying to decide the best way to attach them onto my wreath. The problem I was running into, was that the inside of the liner was white, & I really couldn’t stand that much white showing when I scrunched it up to hot glue onto the wreath… so I turned the cupcake liner on the right inside out, like the picture below:
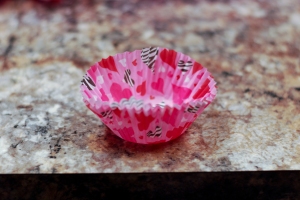
And then I stick it inside of the cupcake liner on the left. Simple enough, & it actually made the wreath look fuller faster as well. The only problem I ran into, was that I had to put a dot of hot glue in between the liners to make sure they stayed together when I attached them to the wreath. Why was this a problem? Because the liners are so thin that I ended up burning my fingertips quite a few times, just so that I could have the look I wanted…
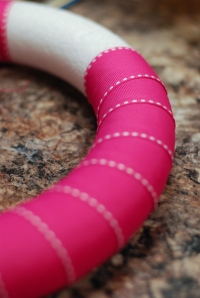
I used the pink ribbon to wrap around the wreath, that way if there were gaps in the liners, you wouldn’t see the white of the wreath, & also because I assumed the glue would attach better to the ribbon (which, so far, seems to be the case!)
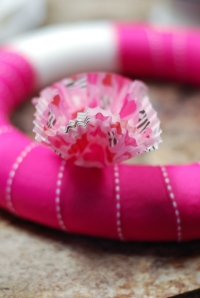
I ran out of ribbon when I had about a 4 in gap left.. but I didn’t let that worry me, I ended up wrapping the rest with the zebra print ribbon, as you will see further in the post. Once I had secured the ends of the pink ribbon with hot glue, I started to add the cupcake liners!! I spaced them just far enough a part so there were no visible gaps, & just kind of “went with it” until I achieved the look I wanted. When attaching the liners with hot glue, you need to hold the liner in place for a few seconds, before releasing, to ensure the glue has cooled & the liners won’t fall off/reposition.
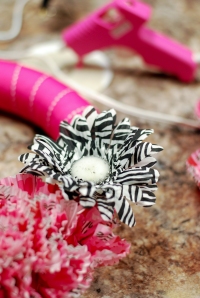
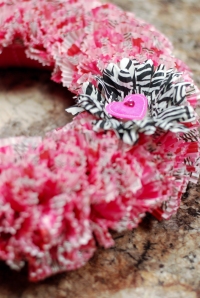
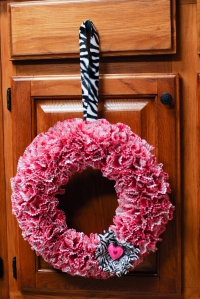
I found these zebra striped flowers at Michael’s for $1, & knew I had to use them somehow.. so I cut of the head of the flower & hot glued it off to the side on the bottom of the wreath, & added a felt heart sticker (also from Michael’s in a pack of 4 for $1). I then made a loop from the zebra print ribbon & attached it to the top of the wreath. Even though I started this project with the intention of using this as a Valentine wreath, in the end I gifted this to a friend for her baby shower. Her nursery theme? Hot pink & zebra print. I know, kind of perfect! I was flattered to visit her after baby was born, & see this on the nursery door 🙂 Definitely worth the time (& burned fingertips).
Thanks for reading,
L.
amylovescrafts
This is a very cute project! Well done!